How to develop Internet of Things app when a device doesn’t exist yet?

Working with “classic” apps (like displaying simple data from selected web services) you usually follow the particular scheme. In fact, it doesn’t matter if you decide to start with communicating with the API, working on the app flow, UI components or storing/processing data on a device — you either get all the needed materials constantly during the process or before you even start.
Do you need to wait for something? No problem, you can focus on another one in the meantime. Obviously, the situation may get more complicated in case of some complex projects, but such cases are rather rare.
Things are pretty much different when it comes to apps which work with some kind of external devices. In this case, the app depends mainly on its connection with the device. Paradoxically, we do not have access to it for the majority of a development process, cause the device itself does not exist yet.
So how should we handle the process of Internet of Things app development, if the device is not there?
Let’s start from the very beginning.

Device idea
First, comes the concept. Once it’s already in your head, it usually happens because of at least one of the following reasons:
You are fed up with the solutions, which already exist. They simply do not deliver.
You know how to improve some existing solutions . There is a proper value in some solutions, but none of them meets your needs entirely.
There is no existing solution that meets your needs. You just identify what you need, and to get it, you need to create a lifehack from scratch.
Device requirements
When you already have an idea, you need to start thinking what requirements should your device meet. This stage is really important — if you forget about something, it may make your whole further work worthless. To move forward, you’ll need to form precise goals to know what your device needs to deliver.
Research & Device proof of concept
If you are a techie yourself, good for you. But if you’re not, you just need to find a hardware engineer (or the whole team), who’ll do the work for you. So, if you managed to form your goals (see paragraph above), just hand it to hardware engineers — they will verify which points from your list have real chances to be implemented. Which is quite tricky. More than often, there are no fixed solutions/components, which can be used on your device. Obviously, building them from scratch is possible, but it’s much more complicated and costly, which makes the whole process way longer.
Device prototype iterations
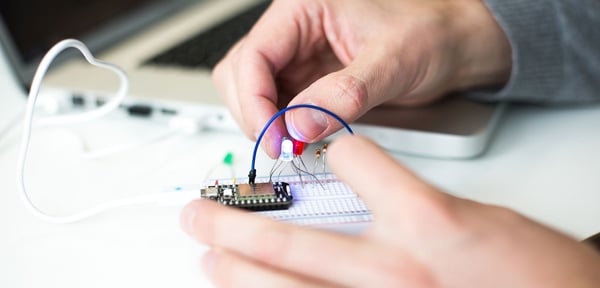
But let’s say you managed to get through the research part. So now what? Now it’s time to create your first prototypes (sound like heaven for LEGO lovers, right?). But to connect the dots, you’ll need both skills and patience. Usually, it’s good to choose the easiest solutions at the beginning, just to improve and optimise particular modules and components later on.
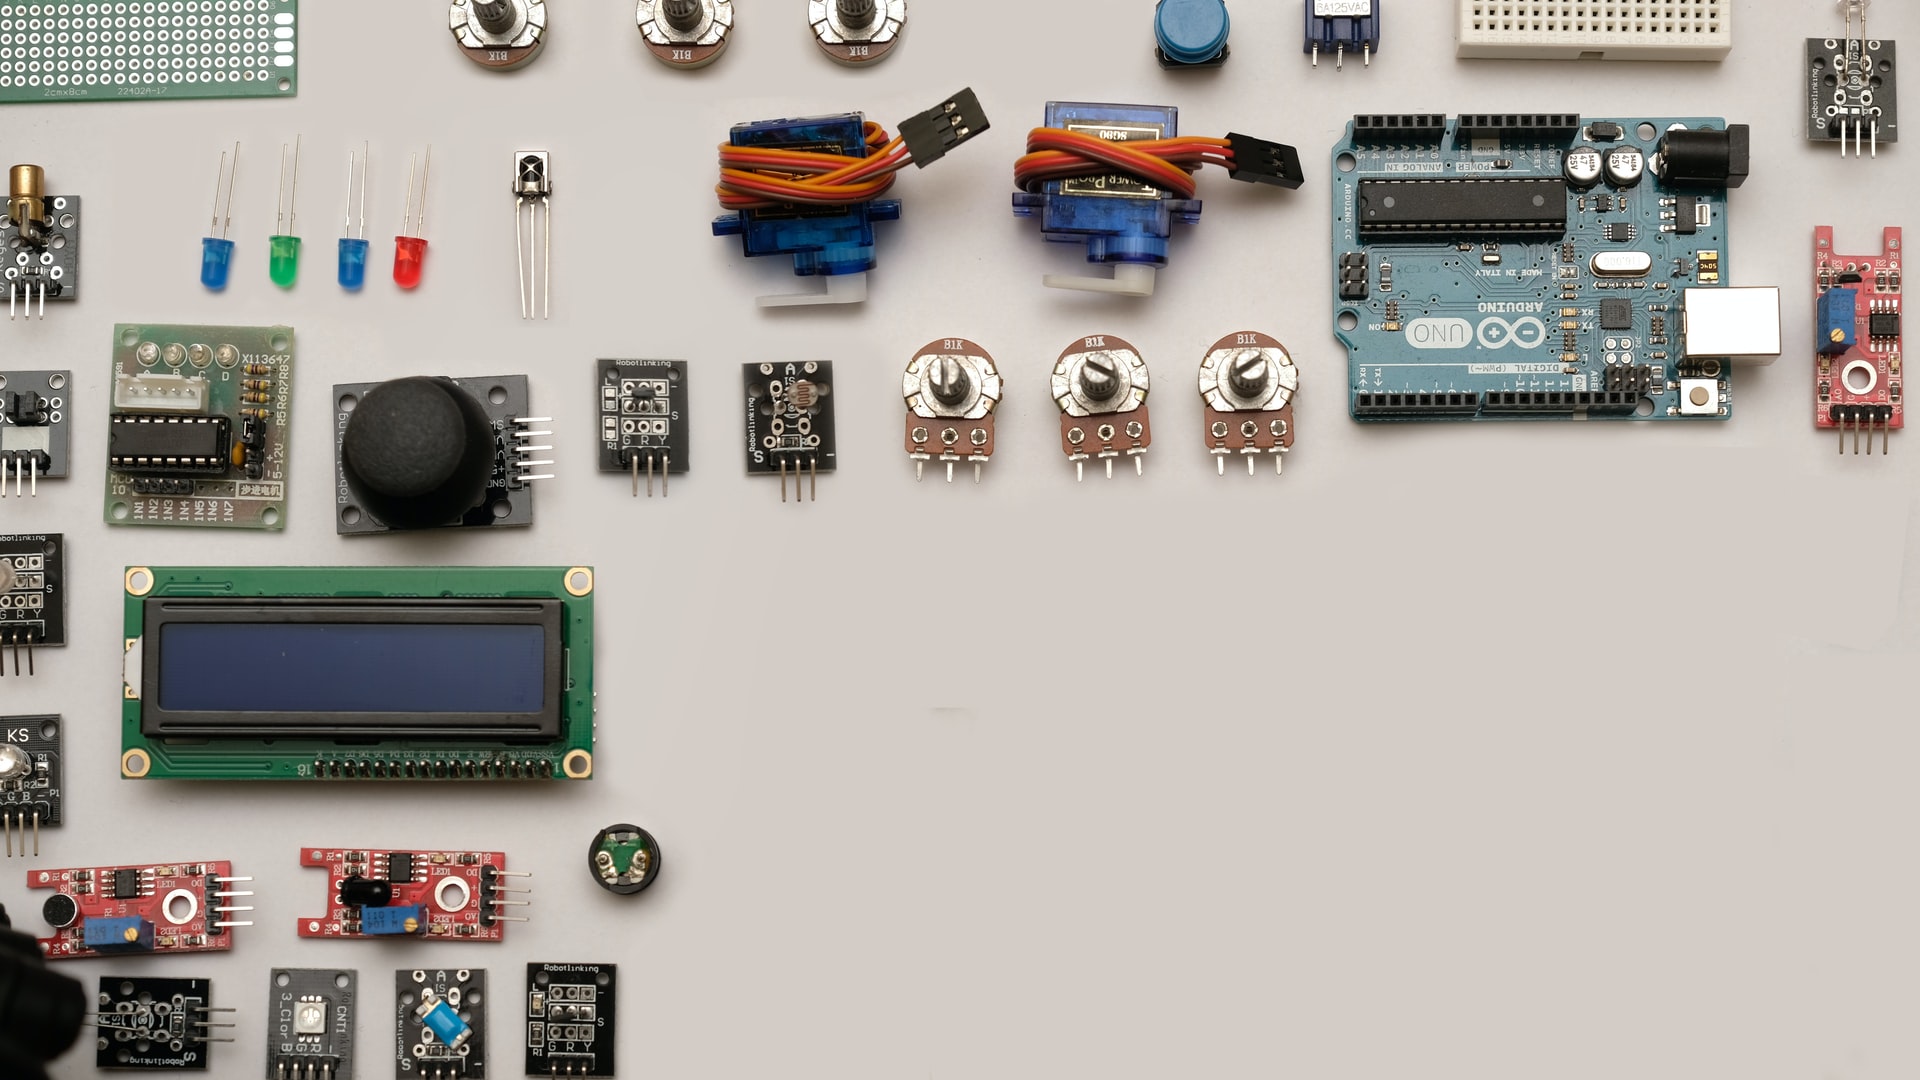
First prototypes are not even similar to the final product. Even the sexiest devices start their life as big, shapeless “somethings”, connected to piles of cables, ugly as sin. But building the prototype is one of the cheapest and the easiest ways to verify projects assumptions.
Then comes the evolution. After the first prototype, it comes the next one, and the next one, and the next one (select your number of additional “next ones” until you reach the final product version). Building each of them is pretty time consuming, which is why you just need to develop your app parallelly. Otherwise, it would take ages for you, to develop it after building your final device. And trust me, this is not what you want as the world moves forwards really fast.

Application requirements
The beginning, this will sound familiar. You need to get familiar with the idea of a product, understand how it should work and what is its goal. First of all, you need to think in advance about how to optimise your app.
How quick would your device drain its battery? Did you solve all the security issues? Should your app be able to run in the background for example? And so on…
Answer all your questions on the early stage to save your time, money and stress.
Communication technology & protocols
There are a lot of protocols and technologies of communication to choose from, none of them universal.
When making your decision, keep in mind what’s important for you:
Do you need low energy consumption?
Wide range?
Quick data transfer?
While developing Internet of Things at Untitled Kingdom, we usually work with Bluetooth Low Energy technology. But options are plenty. You can choose from:
Bluetooth (BLE)
WiFi
Cellular
NFC
Zigbee
Z-Wave
6LowPAN
Thread
Sigfox
Neul
LoRaWAN
Some technologies are used for intelligent home systems, some for wearables or IoT gadgets and sensors. You need to choose what’s best for your solution.
Communication data format
The decision which data structures should you use is mainly influenced by what kind of data we need and how often do we need to fetch them. When fetching the data, you may choose a few options:
- Reading data only during the app-device connection is on
- Tracking data for a longer set of time, then batch downloading and processing them in the app, e.g., to present them in a clear, understandable form
- Both the above
- Live tracking and processing data to control the device operation

Application designs
In the beginning, it’s useful to estimate how much of app UI work can you do without the physical device. The app is usually highly dependent on what you download from the device, so it may be quite hard for designers to verify their ideas without the working prototypes. Be that as it may, clear and understandable data presentation should always be your target, presenting all available data is simply pointless and disorientating.
Application development start
Goals set? Research done? Ready, steady, go! — You can start developing your app. The lack of physical device doesn’t have to be a problem, if you harmonise your work properly, and start with parts which do not require it.
However, if your prototype is advanced enough to start communicating with it, it’s the best option to do so. It may expose some communication problems — chipset based or some others.
Application development break
What should we do, if our prototype is far from our final version, but the whole work that could be done without the working device is already done?
Stop working for a while? — Big no, no. Work delay, hole in your pipeline… Nobody wants it.
Continue your work, basing on unit tests? Also not an option. Probably some problems will turn out as soon as you make your first communication attempt. Some parts of the app may be just really hard to test without the device, so they might not play their role according to our expectations later on.
So, maybe build the device by yourself? — I know how it sounds. Actually, the device is just being built, so what’s the point of creating another model? What I really mean is a sort of simulator, which would enable us to test the app and deliver additional values (I’ll expand it further).
So let’s think about it for a while. What do you expect from such the simulator? Basically, such simulators may allow you to:
Manually control the status of the simulated device with some sliders/buttons
Simulate the data sets from the sensors to reach particular cases in the app.
Simulate the behaviour that we predict from the device, basing on data sets consistent with the established data formats specified in the preliminary work on the device’s requirements.
As each of the solutions have its pros and cons, It’s worth to think which of them will bring the biggest value to our work. As it takes time to implement the solution, it’s really important to optimise your work and to focus on these, which are the most helpful in case of your project.
Ok, so what exactly do we need to simulate?
Detecting and connecting the device. For this, it’s good to use the same technology/protocols that we will be using later on, with the final device. But it’s also good to consider other options if these could boost the process of app-device communication and testing later on.
Downloading and decoding the data delivered by the device. If you do it properly, you can be sure that, when the time come, you shouldn’t have problems with connection of the physical device and with reading the data.
What options do we have when creating your simulator?
1) If your prototype works (more or less), and you are pretty close to adding the communication module, you may consider this solution. It will guarantee the conditions, which are the closest to what you get in your final product. However, you may find it pretty unreliable, as connecting may probably take you much more time than you expected. This may be caused e.g., by chipset choice or setting the frequency of device advertisement interval in case of BLE protocol. Also, choosing this solution will require additional skills (e.g., microcontroller programming), and will probably involve work of somebody, who’s currently working on other components. Finally, it won’t allow you work with testing data sets, so you won’t be able to use it with e.g. automatic testing. All in all, the solution may turn out to be too complicated and time-consuming to be considered optimum.

2) Using fixed data sets stored inside your app (they will be useful for unit tests anyway). There is one problematic thing here: The data take storage — you need to remember about it when adding them to your project, not to increase your app size. For instance, you can create separate targets, “just for simulation purpose”. It’s something trivial, but remember to do it wisely — deleting/adding files manually later on, during each app release will be just too time-consuming. There are two biggest advantages of this solution:
Quick access to the data (with no need to connect with external devices)
Compatibility with all sorts of tests, also on an external server for continuous integration and continuous deployment.
Another issue consideres data format. It may be consistent with what you are planning to save on the device. Choosing this option will mean an excellent choice to debug users problems when the only available data are the data from the problematic moment in the app.
Such format is quite time-consuming — for instance, if we assume 10Hz samples from numerous sensors, you get a lot of data (and they all need to get to some file for simulation.)
It’s also worth to support special formats, which will be easier to prepare (it’s not a must-have, though).
Usually, apps are written for more than one platform, which is why it’s worth to establish one format for all platforms. It will let you avoid unnecessary converting, and it’s the perfect way of checking if every app behaves the same for the same set of data.
Personally, I’ve used such simulation in pair with UI tests, which spared me two months of work. It enabled me to refactor the particular parts of the module, instead of rewriting it from scratch.
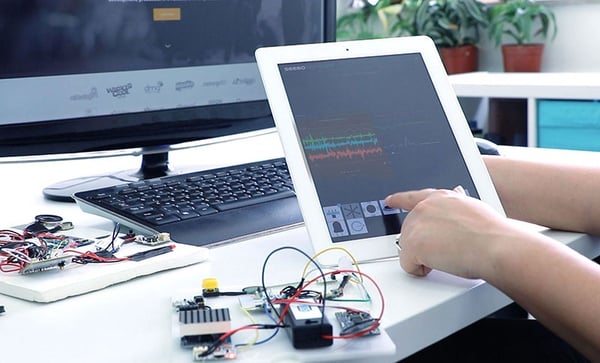
3) The most complementary solution would be to create separate standalone simulator app. This gives you full freedom in almost all aspects of communication and data delivery solutions.
For example, you can use identical technology to be as close as possible to the final product, or choose something completely different, but much more convenient in terms of further testing and development (like zero configuration protocols instead of BLE, to speed up establishing connection.)
This option also gives you full control of what kind of data will be accessible and how. Those might be real device data sets, some sort of special data formats for simulation, or simply manual sliders and switches to control simulated device state.
The simulator app may be desktop or mobile — if only our stationary machine has a Bluetooth, we can write apps directly for it. If you want your simulator to be “more mobile”,systems starting from iOS 6 and Android 5.0 support so-called peripheral mode on BLE for example.
4) You can also use the local/remote server and simulate the connection with the device reading the data the same way as from the target device (you can do it, e.g., using sockets). I haven’t tried this solution myself, but you may well try it out in your projects, especially that almost all devs have some experience with connecting to web services so that might be convenient for you
5) Finally, there is a lot of available solutions, making it easier to simulate for Internet of Things devices. You can use for instance:
Contiki, Cooja simulator
SimpleIoTSimulator
NetSim
AutoSIM Internet of Things
many, many more.
These tools support only some part of communication protocols, so they do not give you much opportunity to configure, so they might not be the best fit for more custom and advanced solutions. However, it’s a good option to consider — if they cover all your needs, it may let you save a lot of money, energy and work.
Wrap up
Developing Internet of Thing-based apps without your device always requires some extra work and time. But the process itself is just fascinating, as it involves working with new technologies, trying them out in practice and estimating their value.
There’s plenty of alternatives to work with when your device is not yet ready. You can choose from a wide variety of solutions. It’s just up to you which one will you pick for your project.
It should be a smart choice, though, so you get maximum advantages in possibly shortest time tailored especially for your own case.
Read more about our rapid prototyping development process
7 phases of the software and hardware development process inspired by NASA
